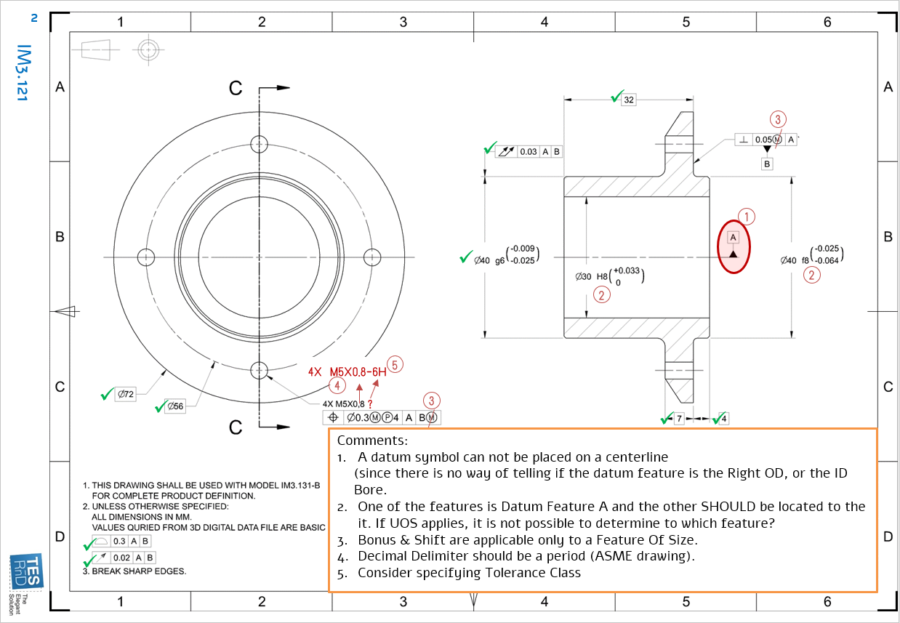
System failure is in many cases related to ambiguous part drawings or obscured design intent. For example, have you ever encountered a part that passed inspection (with flying colors) but failed to assemble or function as planned?.
On the other hand, have you encountered (or heard about) parts that failed inspection, but fit and function perfectly?
Due to globalization and outsourcing to avoid those risks, drawings need to clear, standardized and unambiguous.
We are proud to announce our new Drawing Dimensioning & Tolerancing proofing service
Proofing service includes:
- Dimensioning & Tolerancing standard conformity (ASME GD&T or ISO GPS)
- Datum Reference Frames \ Datum system precedence and datum feature relations
- Geometric specification completeness (Location, Orientation, Form & Size)
- Identify and alert to overlapping, conflicting or missing geometric requirements
- Recommendations for rectifying off or missing specifications
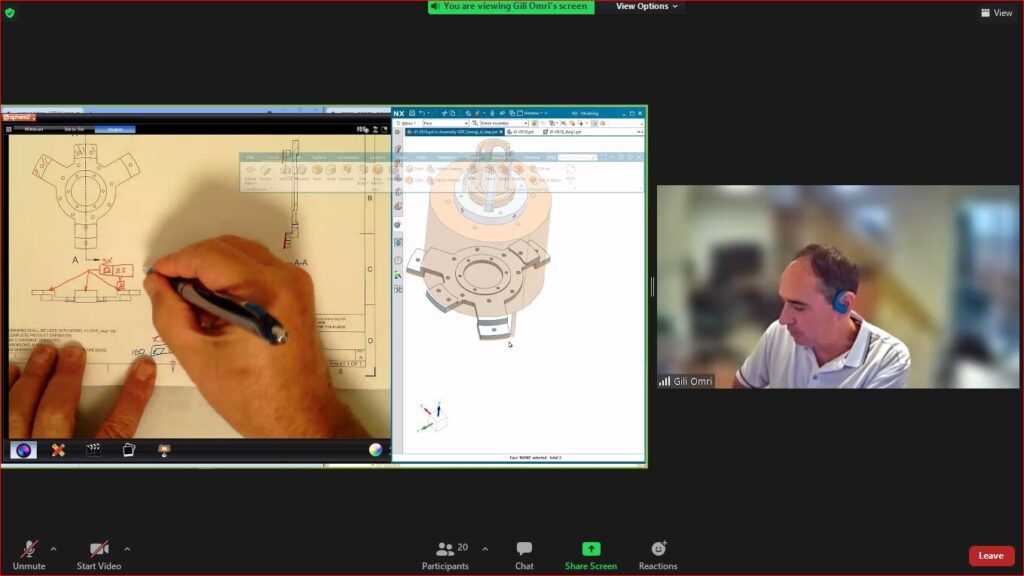
How is the service performed:
- Upload drawing package for quotation
- We will send back a quote for proofing
- After receipt of order, the proofed drawings will be sent back (on average within three business days).
To request a quotation
Please note: GD&T/GPS consulting services can be order separately


